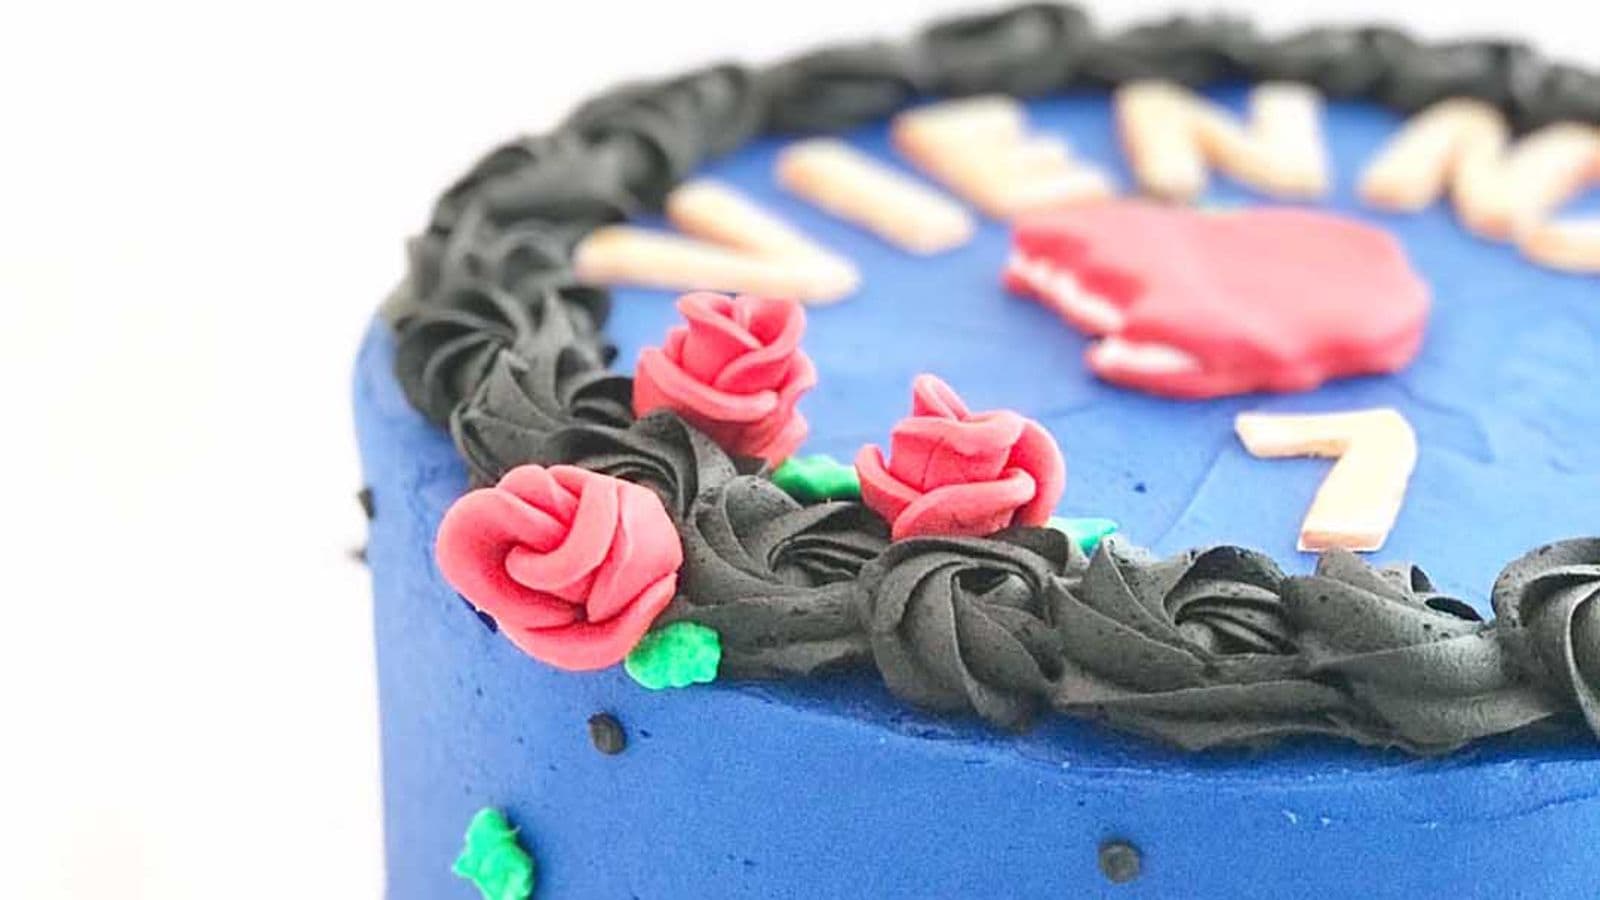
When I got a cake order a week or two ago, the theme required roses. Red roses. Let’s be honest here, I hate dying buttercream red. It requires so much red food gel to get it just the right color. Lucky for me, I had tons of leftover red fondant from a previous cake I had made.
Enter fondant roses. These are so easy. Your kids can make them. Your grandma can make them. Your husband can make them. And you most definitely can, and should, make them.
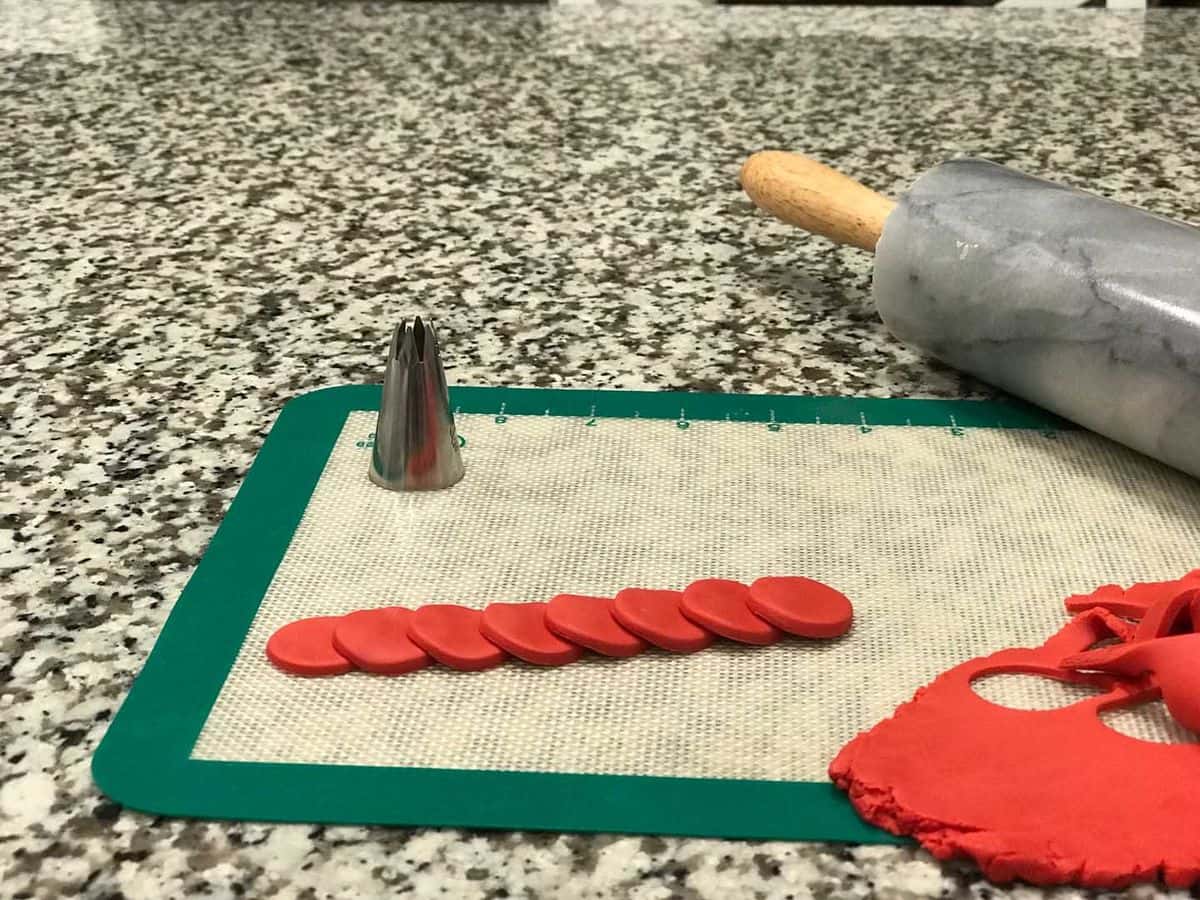
Roll your fondant out to about a 1/4 inch in thickness. If your fondant is sticking, sprinkle some powdered sugar on your surface.
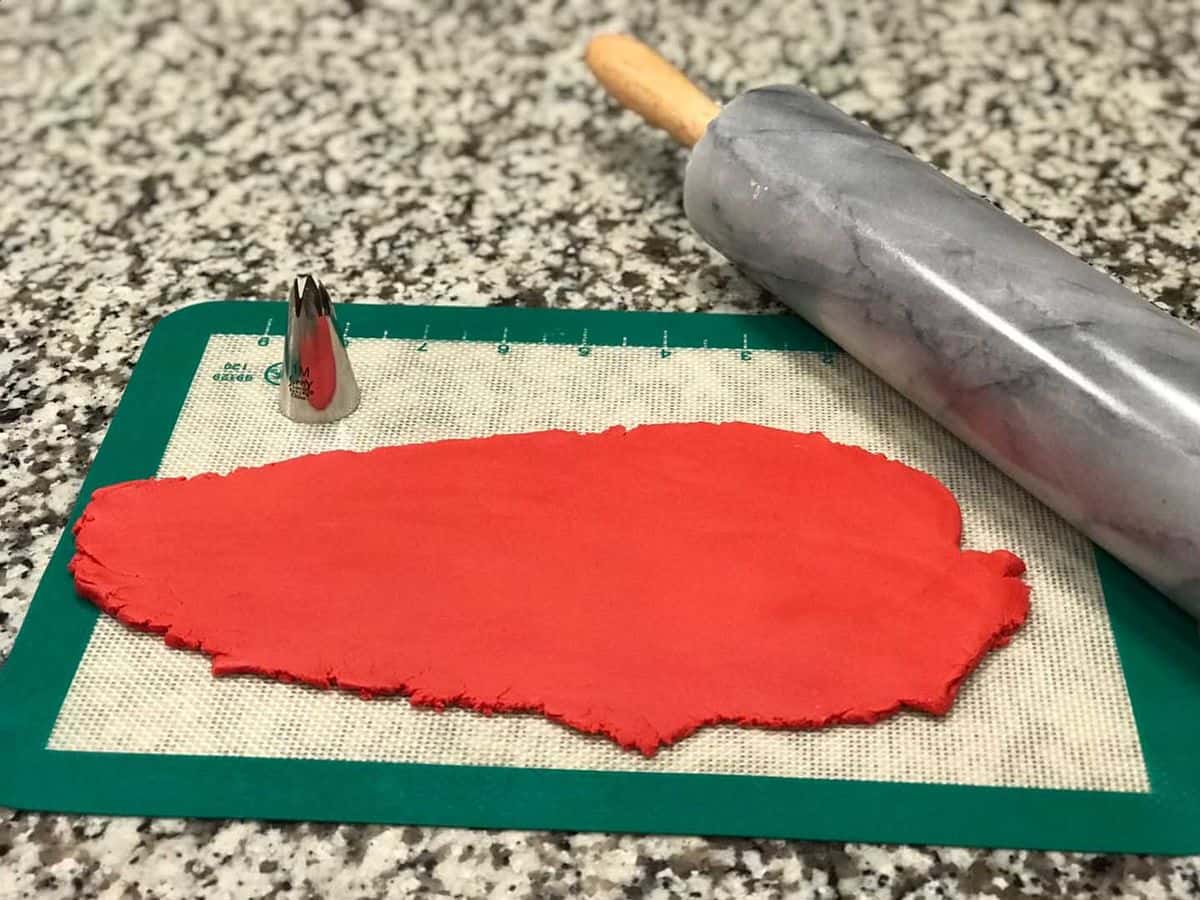
Next, take your large cake decorating tip and use the bottom as a cookie cutter. I used a 1M here, but that doesn’t really matter. Just make sure to use a large tip.
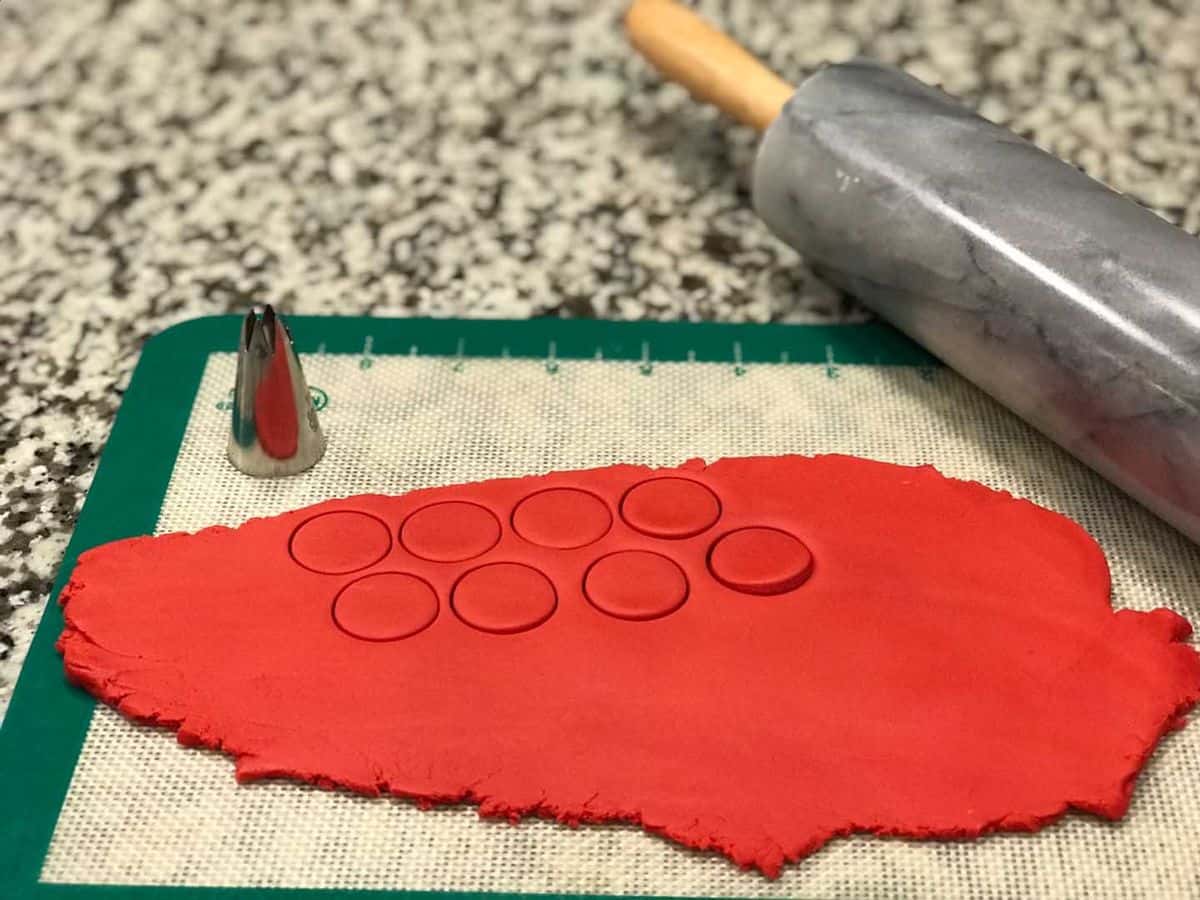
Make sure not to twist. It will make your circles all ragged looking. Just cut your circles and pull the remaining fondant up and away.
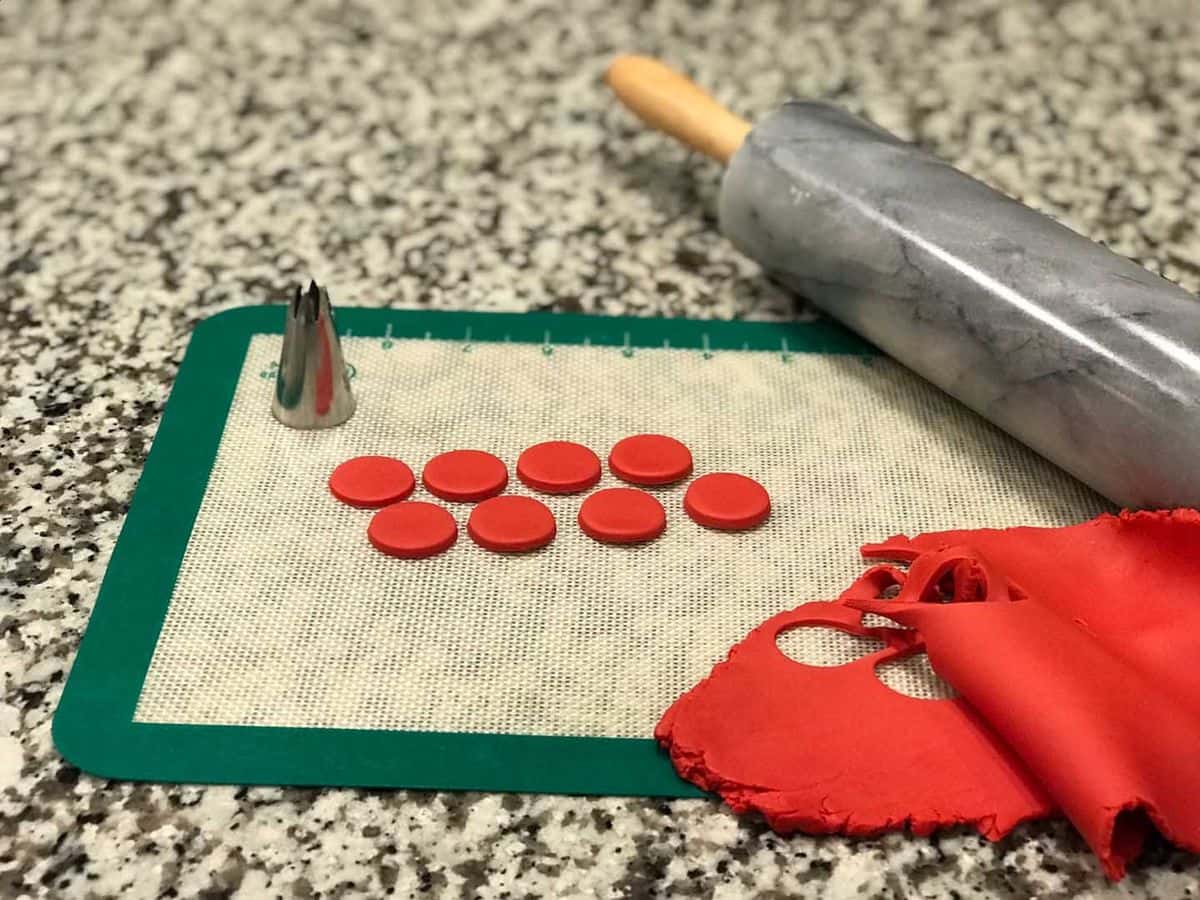
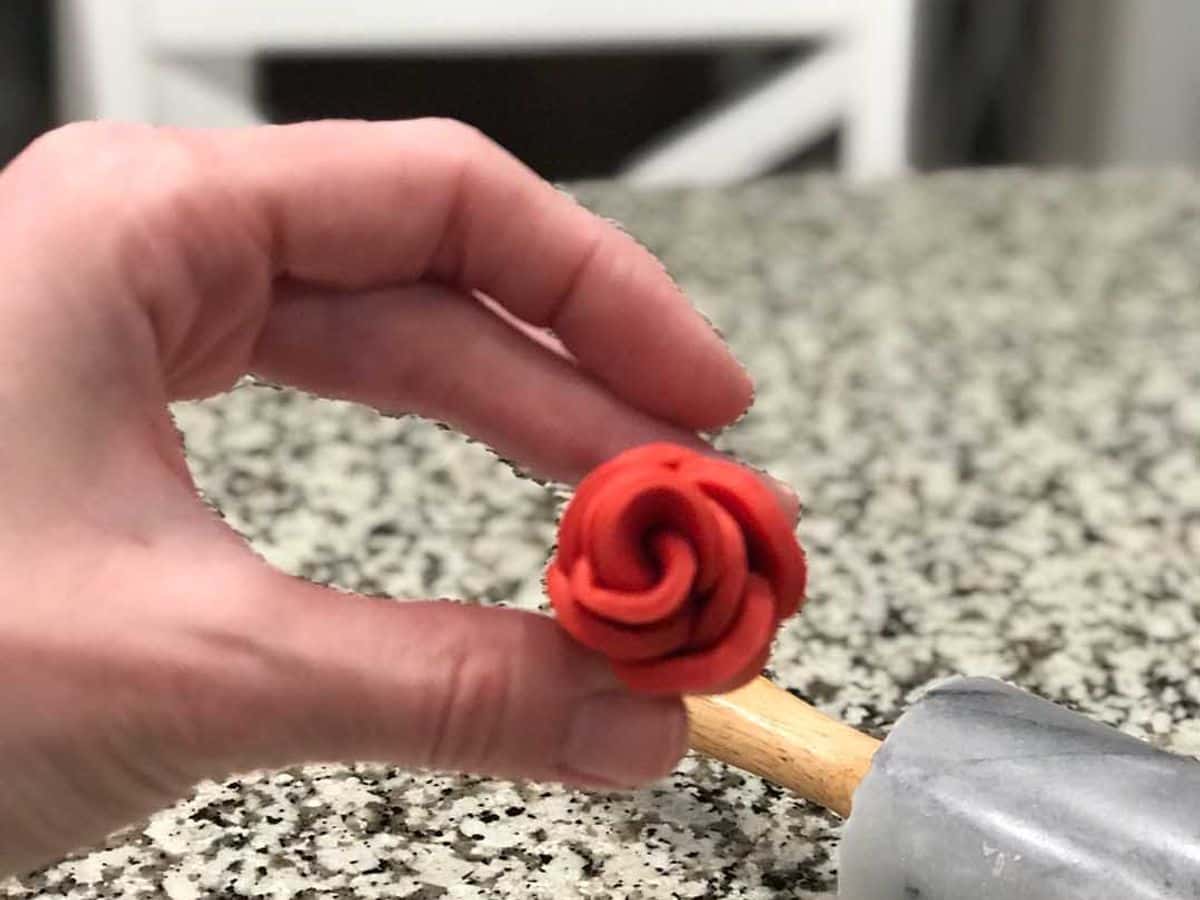
Next, overlap your circles slightly in a straight row. Then roll them up starting at the first circle. This is shown in the video.
Now you have a rose blossom.
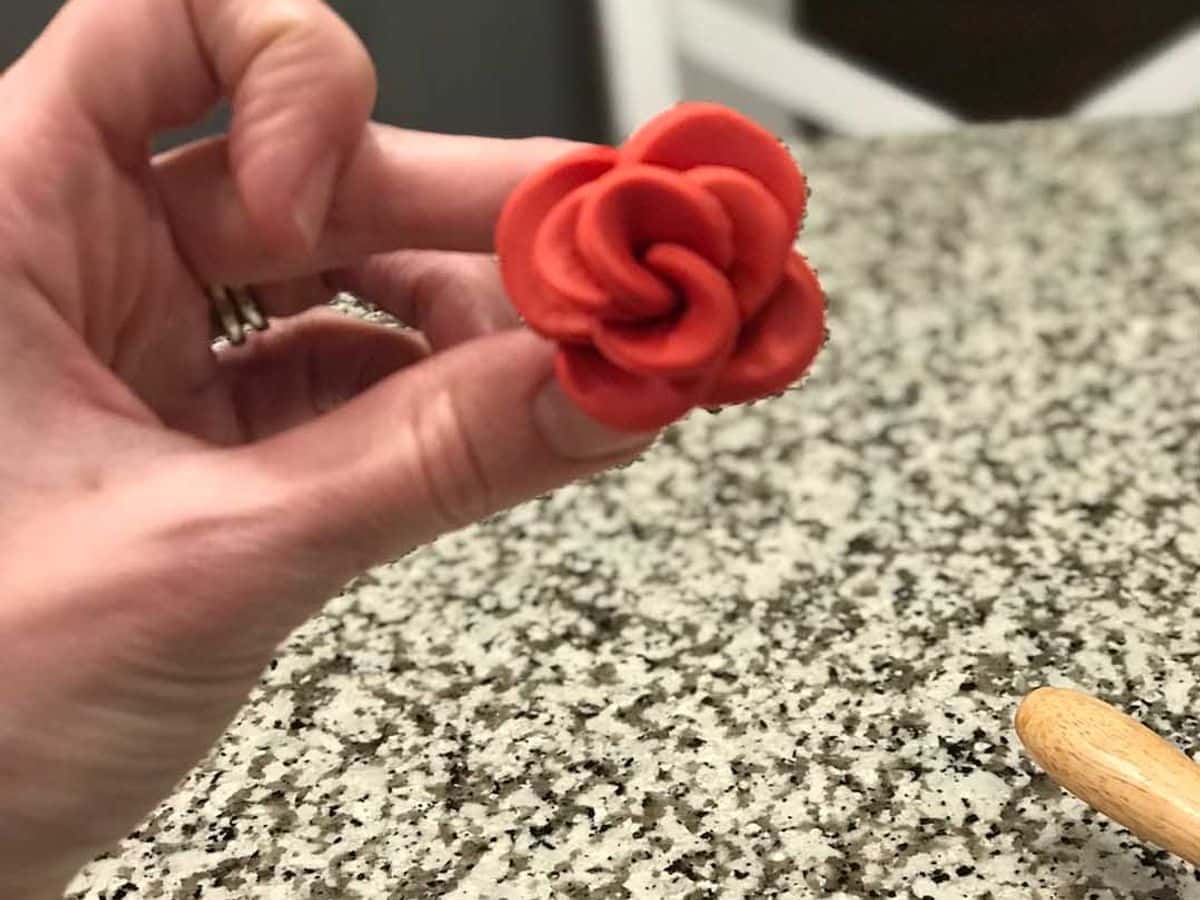
But, you want a blooming rose. Just gently fan out each piece, and you have yourself a beautiful rose.
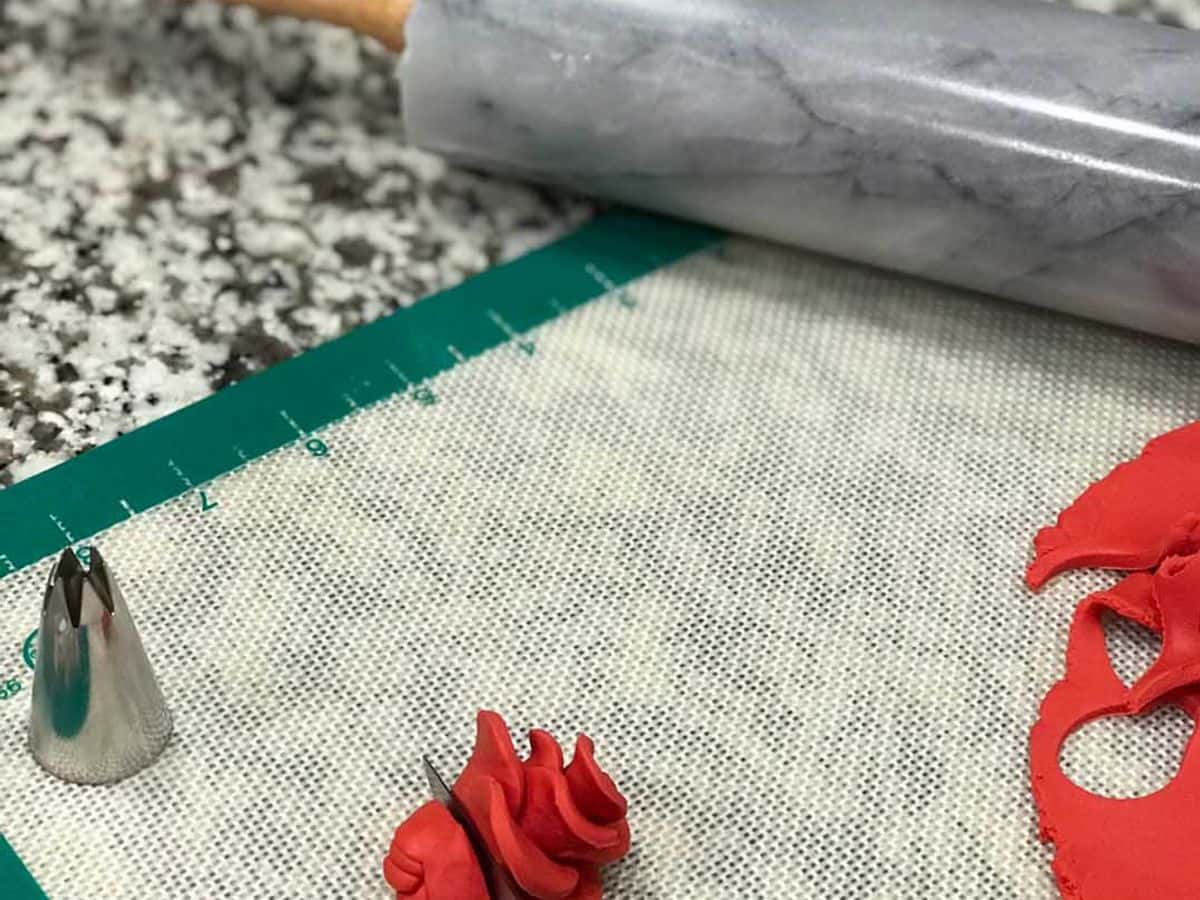
I usually trim any excess off the back with just a knife. This makes it easier to attach to your cake.
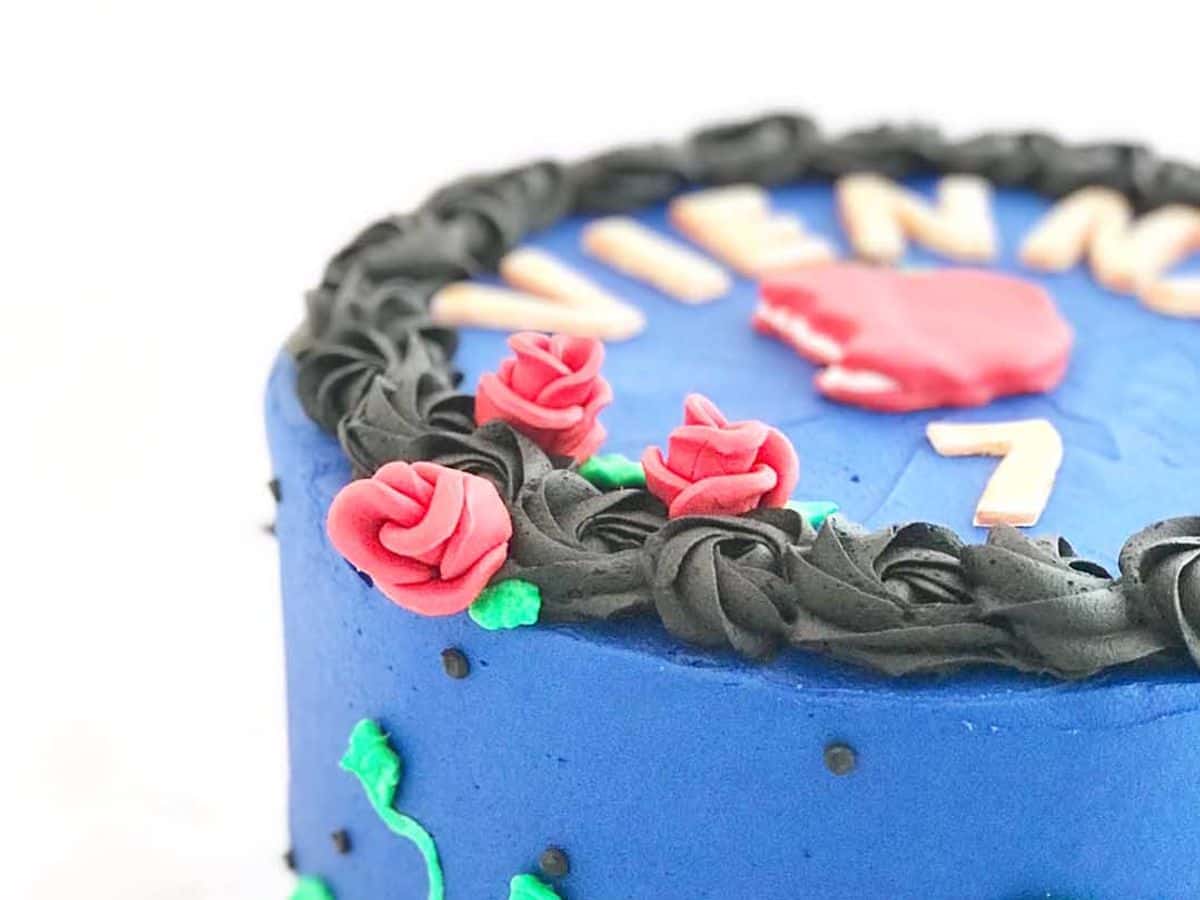
As you can see, I placed one rose on the side of the cake. I just simply stuck the rose on a toothpick and inserted it into the cake.
Have fun making roses!
Comments