The Story Behind the Recipe
I remember one year when I was in elementary school one of my friends invited me to her family’s Fourth of July cookout. I don’t remember much about it besides being in a grassy backyard and people raving and looking forward to the homemade peach ice cream that had been promised. Even my friend had told me that it was the best ice cream ever.
I’m sure I had had homemade ice cream before that. I have vague memories of my mom making ice cream in one of those old fashioned ice cream makers where you have to use rock salt, ice, and use your own muscle power to churn it for 45 minutes. Maybe I let everyone’s excitement get to me about that homemade peach ice cream because I could not eat it. I was sorely disappointed. It was soupy and icy and no where near creamy, which is what ice cream needs to be.
Over the years I have seen that same disappointment in many homemade ice cream recipes I have tried. For years, I have had the recipe for my great-grandmother’s ice cream custard tucked away, but never tried it. With a little nudge from my mom, I decided I would whip out that recipe and go for it.
The Process and Tips
However, after looking at the recipe and seeing that it didn’t call for any cream, I decided to tweak a few ingredients to get a higher fat content in hopes of getting that creamy texture that I have been looking for for so many years. I also figured that using high fat content milks would allow for it to not get icy as well.
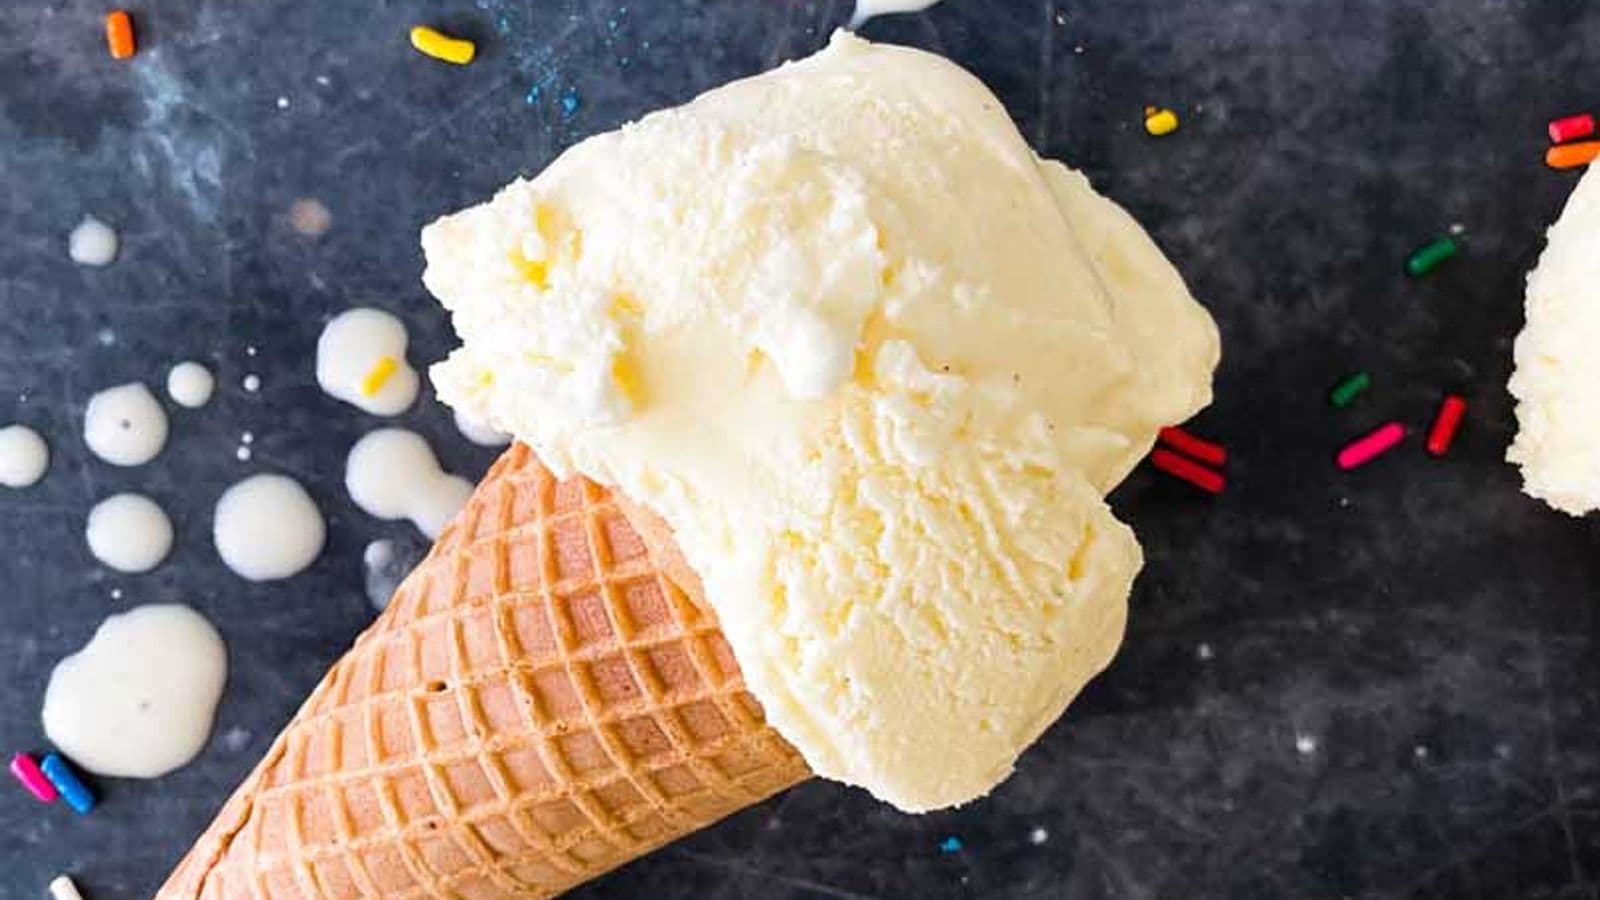
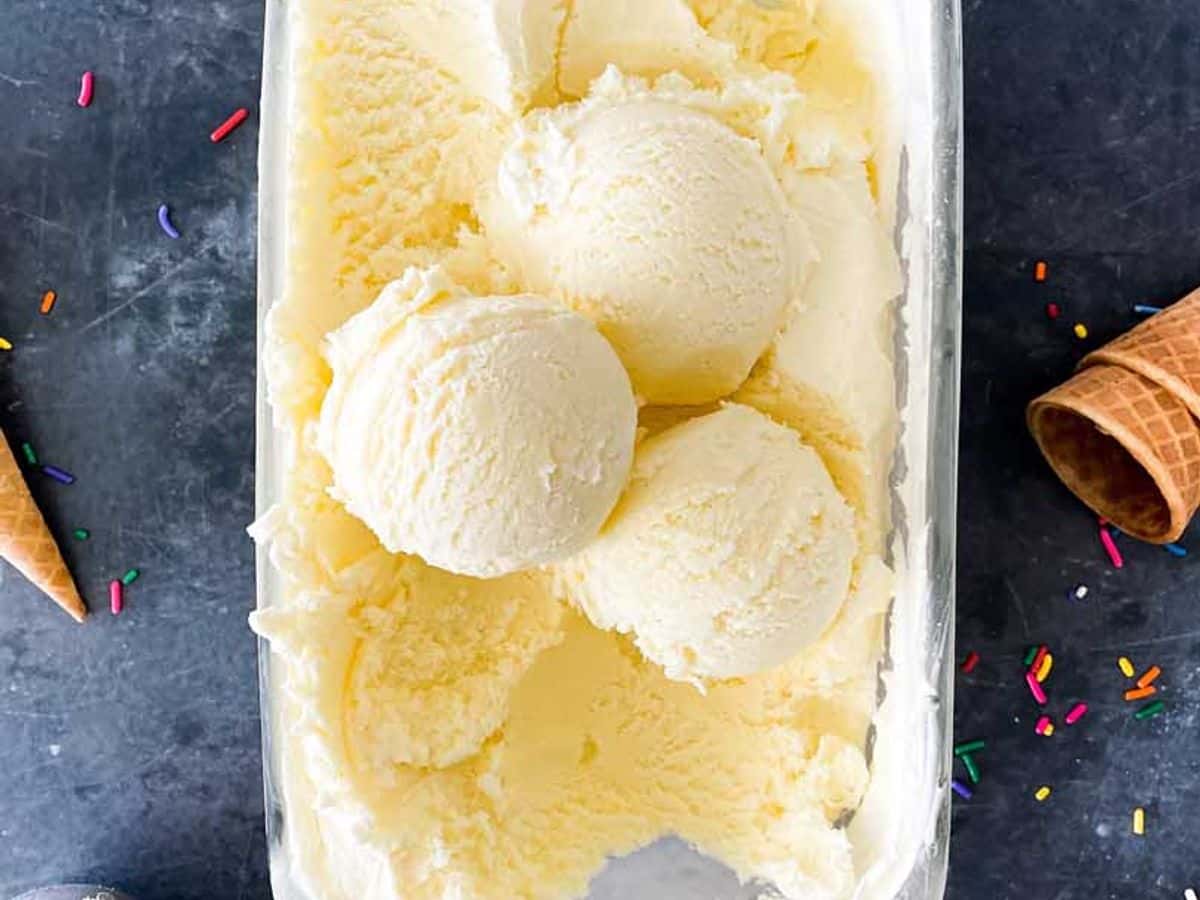
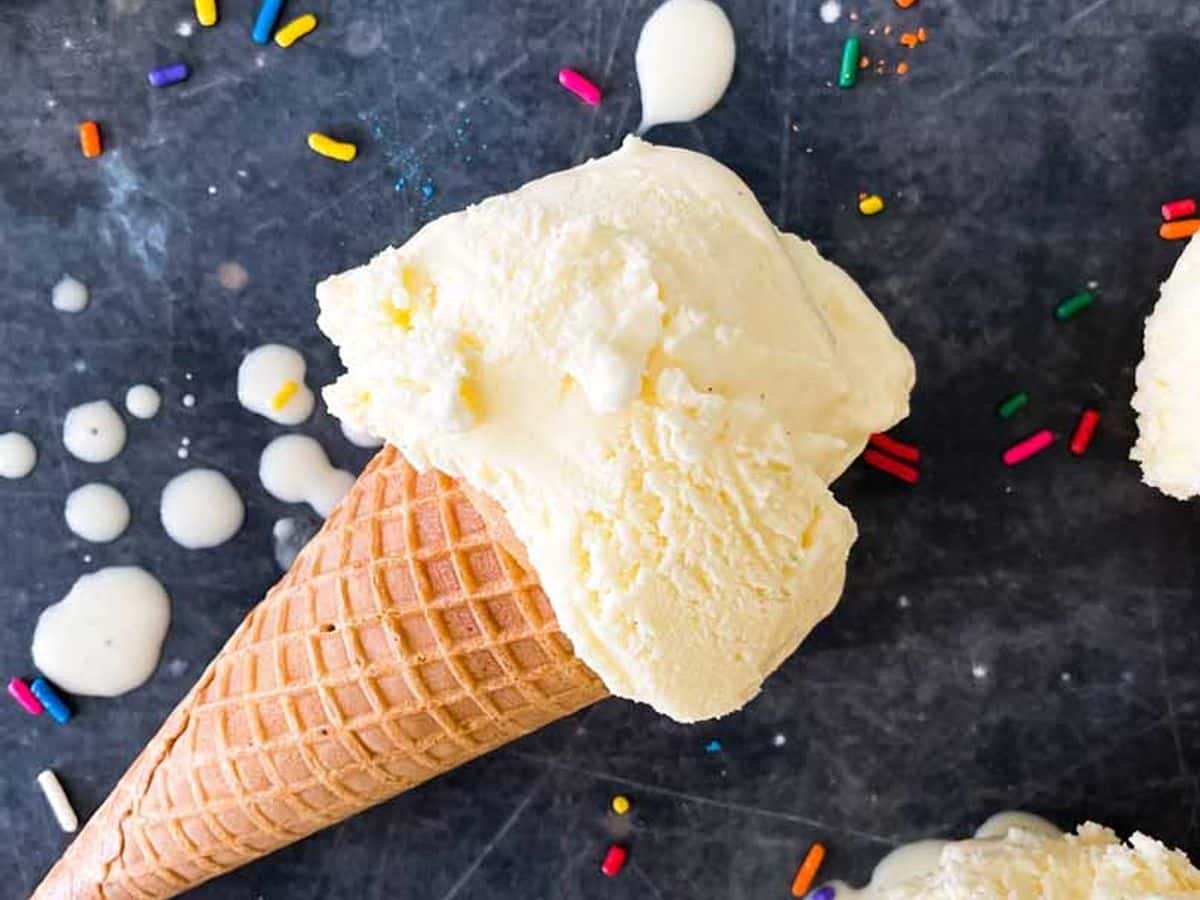
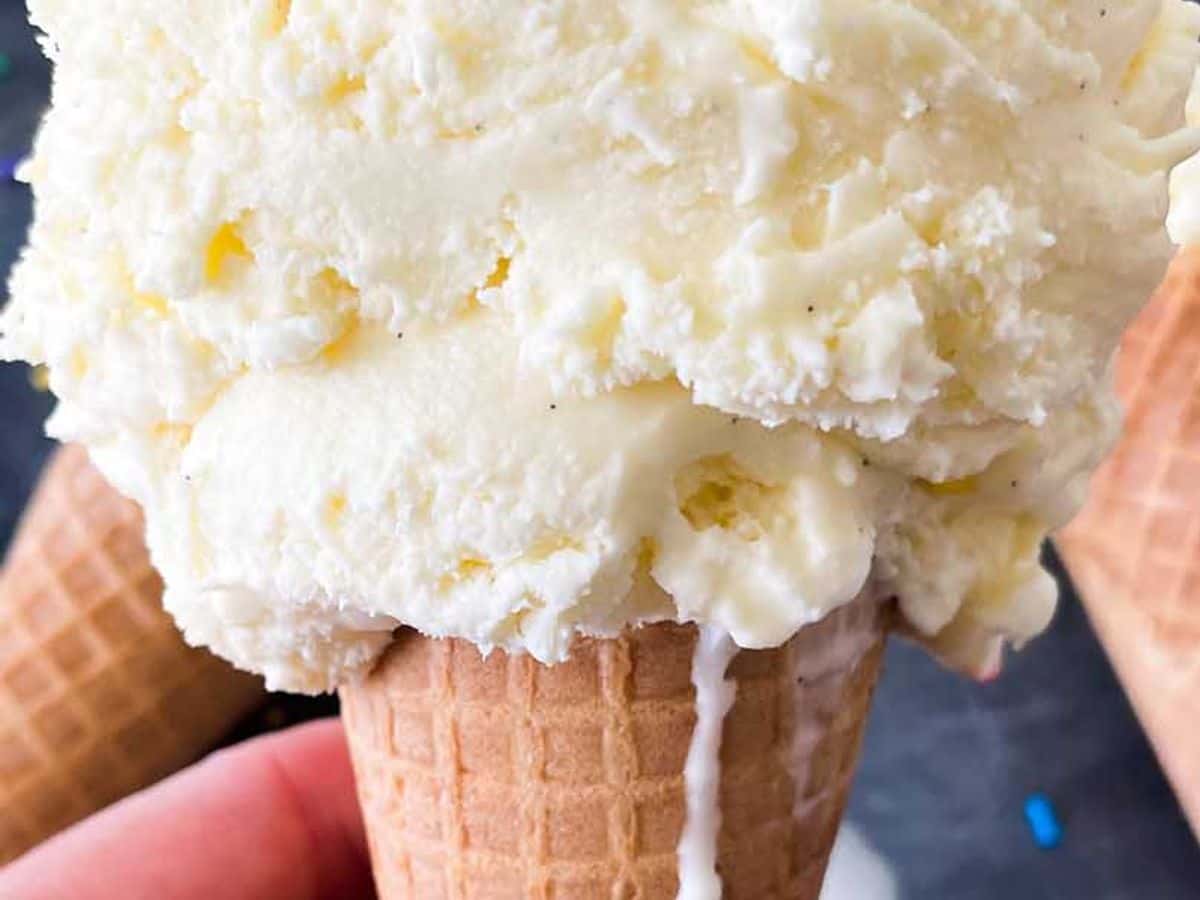
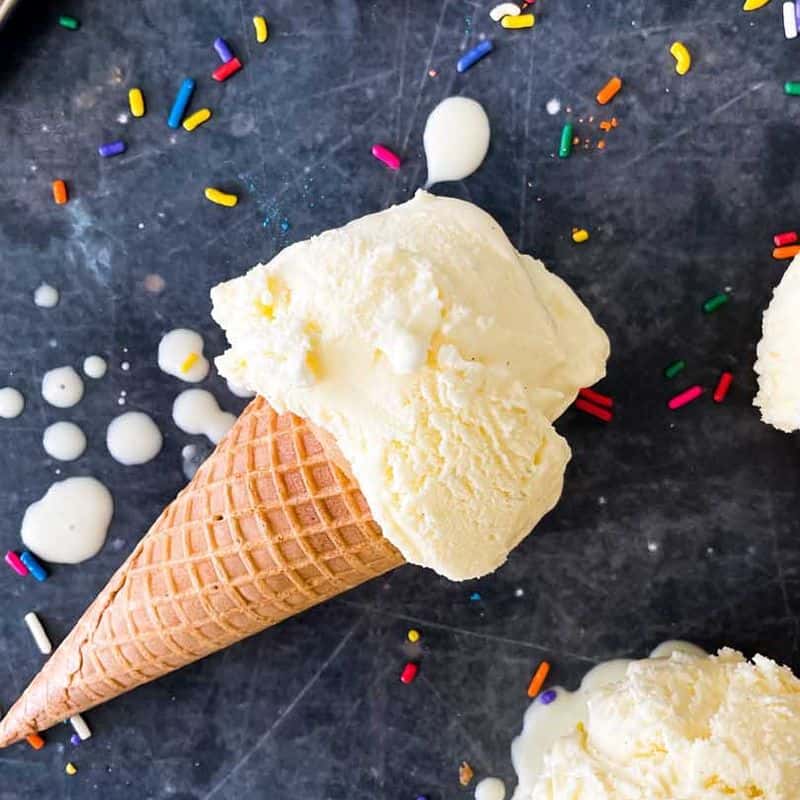
I didn’t get my hopes up in case it was a total flop. And guess what?! I produced the most luscious vanilla custard I have ever had. It may even rival the two closest custard shops within a 5 mile radius of my home. It has the most amazing and creamy texture. It doesn’t get super hard, and it’s is easily scoopable. But knowing my taste buds and how I like my ice cream, I knew I needed to add some chunks. **The first time I made it I added chopped up oreos, a peanut butter ribbon, and a chocolate ganache. It was INCREDIBLE. Pretty much anything can be added to this vanilla base if you want, or you can enjoy it plain as well and add toppings instead.
When making homemade frozen custard, make it at least 1 day ahead. This gives it plenty of time to cool as you have to heat it over the stovetop to cook the eggs that are in it. Also, if you are using an ice cream maker that requires using a frozen bowl, make sure to freeze that at least a day in advance. I like to keep mine in the deep freezer so I can have it ready whenever I decide to make ice cream.
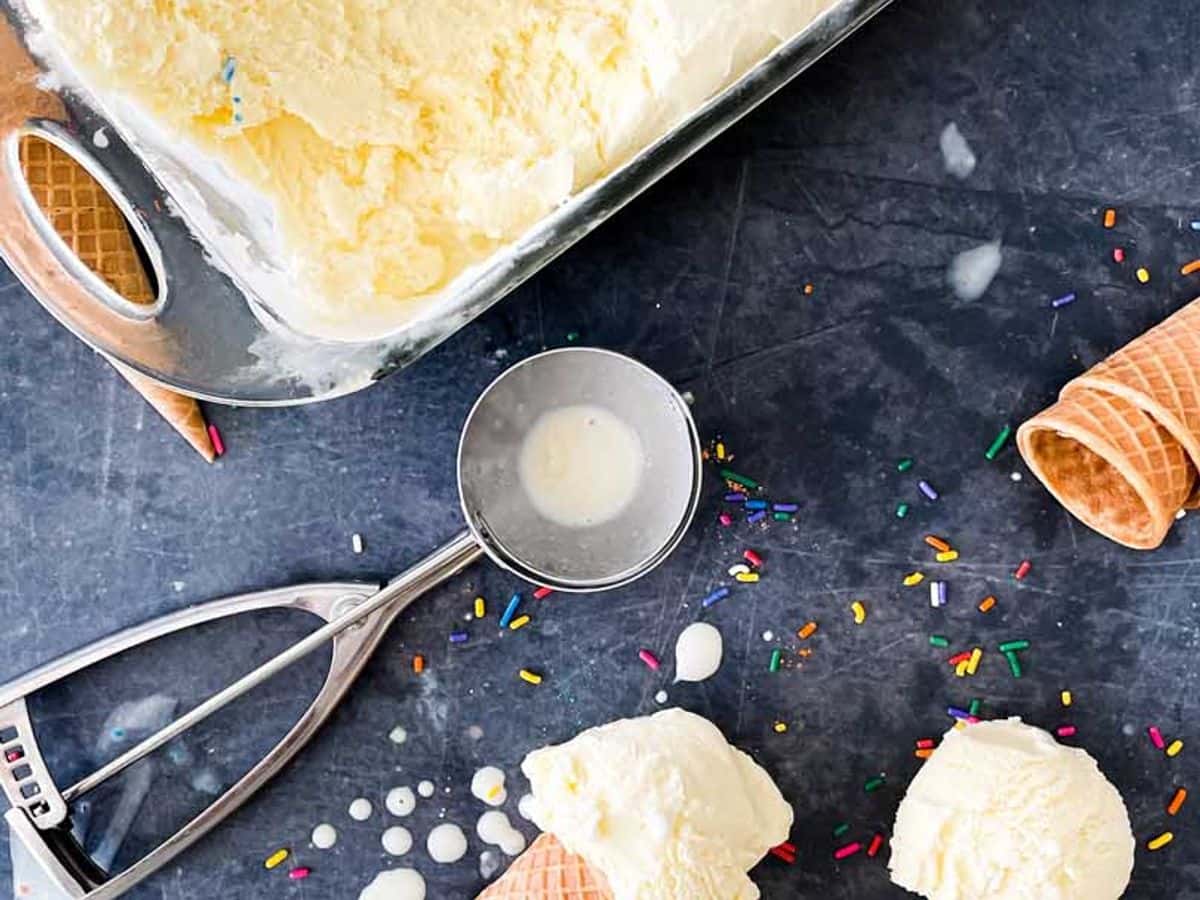
I have found that ice cream will never get a hard, scoopable texture while mixing in the ice cream maker. It needs at least a few hours in the freezer afterwards to harden. Of course, you can go ahead and eat it straight from the ice cream maker, but don’t blame me when it becomes soupy and melty within minutes of hitting your bowl. If you are looking for a good ice cream scoop the one shown in the pictures is this one. I also love to use it for scooping large cookies, so win-win.
If you are looking for some other frozen treats, make sure to check out these other recipes of mine. This recipe for Fried Ice Cream is perfect if you are feeding a crowd. If you happen to be looking for something unique and fun, then you definitely need to try these Fried Banana Splits.
Comments